Create Blog Posts semi-automatically from video presentations
This is a full transcript of the AutoBlog video & matching slides. We hope, you enjoy this as much as the video. Of course, this transcript was created with deep learning techniques largely automatically and only minor manual modifications were performed. Try it yourself! Also, if you spot mistakes, please let us know!
Welcome, everybody! My name is Andreas Maier. I’m a professor of computer science at the Friedrich-Alexander-University Erlangen-Nuremberg. I want to talk to you today about research videos and research presentations. I know that many of you are producing videos like the one I’m producing right now in order to highlight their research. So, I thought that it might be interesting for you that you can actually convert these videos into blog posts quite easily, This is why I want to present to you AutoBlog today. So, this is a small set of tools that I created over the last couple of months that can be used to generate blog posts very quickly from research videos. So, let’s see what I have for you.
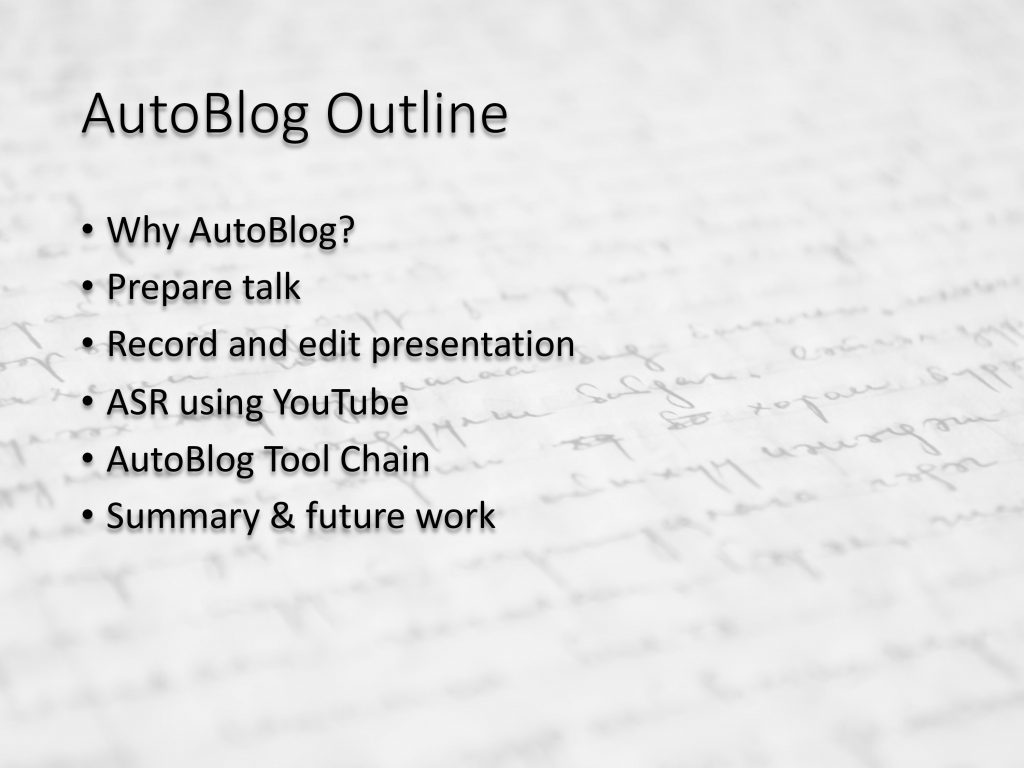
Here’s the outline of my talk. Why would you want to do this? Actually, I want to show you how to prepare the talk amd how to record and edit the presentation. Finally, once the presentation is recorded, I want to show you how to use youtube and its automatic speech recognition (ASR) features in order to extract the spoken text. Then, I want to introduce you to the AutoBlog tool chain. I will finish this presentation with some summary and future work.
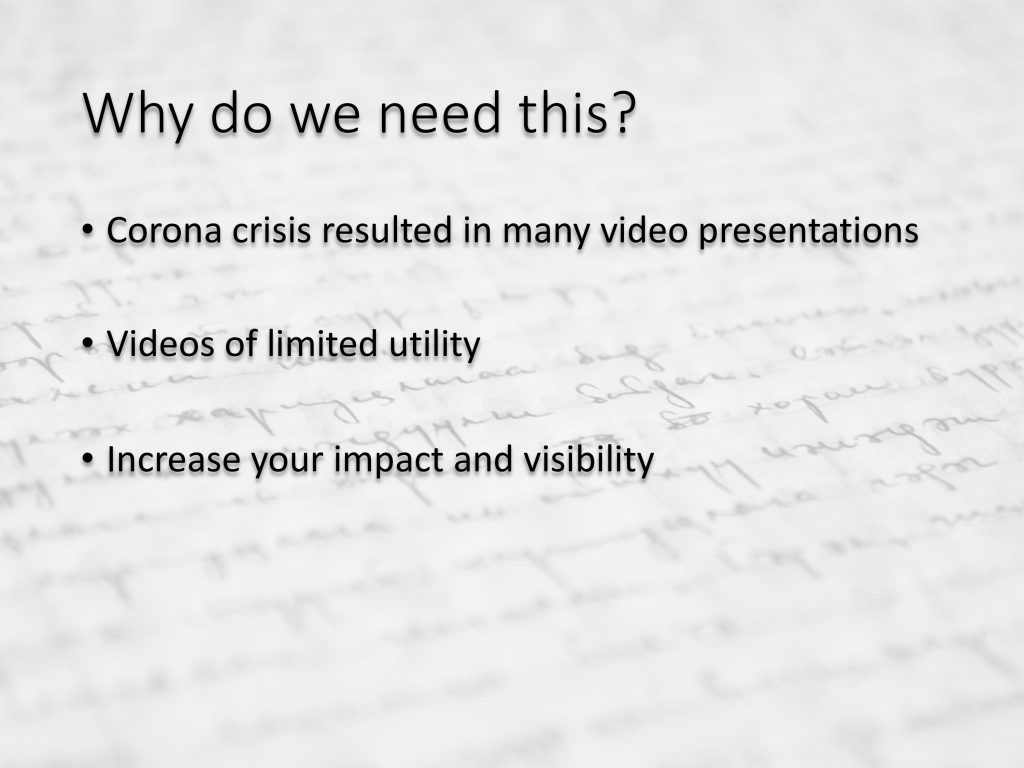
So, why do we actually need anything like this AutoBlog? Well, you see that during the Corona Crisis, we have recorded many of these video presentations. I think many of them are really wonderful. If you look at platforms like YouTube, you can see them and they are really splendid and wonderful presentations. However, videos may be of limited utility. So, you can listen to them and you can either do this at home or if you’re on the road then you probably need headphones. If you now want to make your research presentations more accessible, it would be nice to have a corresponding blog post. Also, if you had the text that you have been speaking in the entire video, then you could also very easily do a full-text search within. This can also be done after you have been using AutoBlog. So, in summary, we can say if you would be able to generate blog posts from video presentations, then you can increase the impact of your research and of course its visibility.
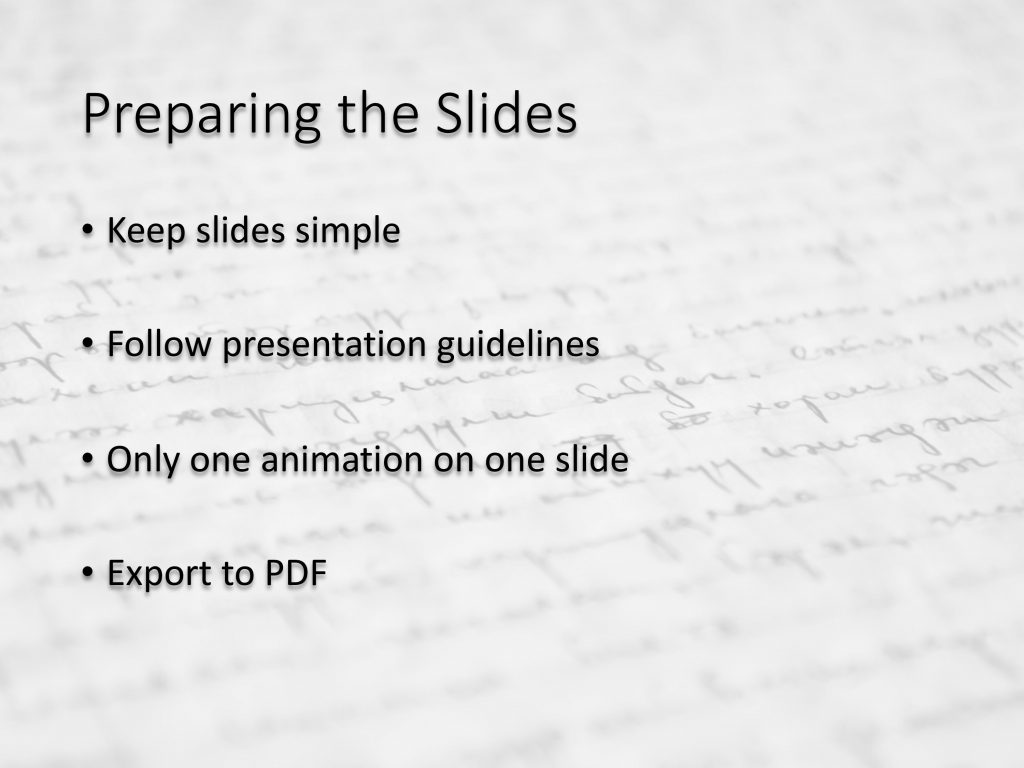
So, if you want to use features like this, you have to prepare your slides obviously. You follow the same rules as you typically do when you’re actually doing presentations. So, you keep your slides simple and follow presentation guidelines. You know there are the 5×5 or 7×7 rules that you want to obey such that the slides are not too full. They should look appealing. If you want to use AutoBlog, make sure that you have at most one animation per slide because we want to use the export to pdf feature in order to use it later on for the blog post creation. So, that is one thing that you should keep in mind if you want to use the software that I’m presenting here today.
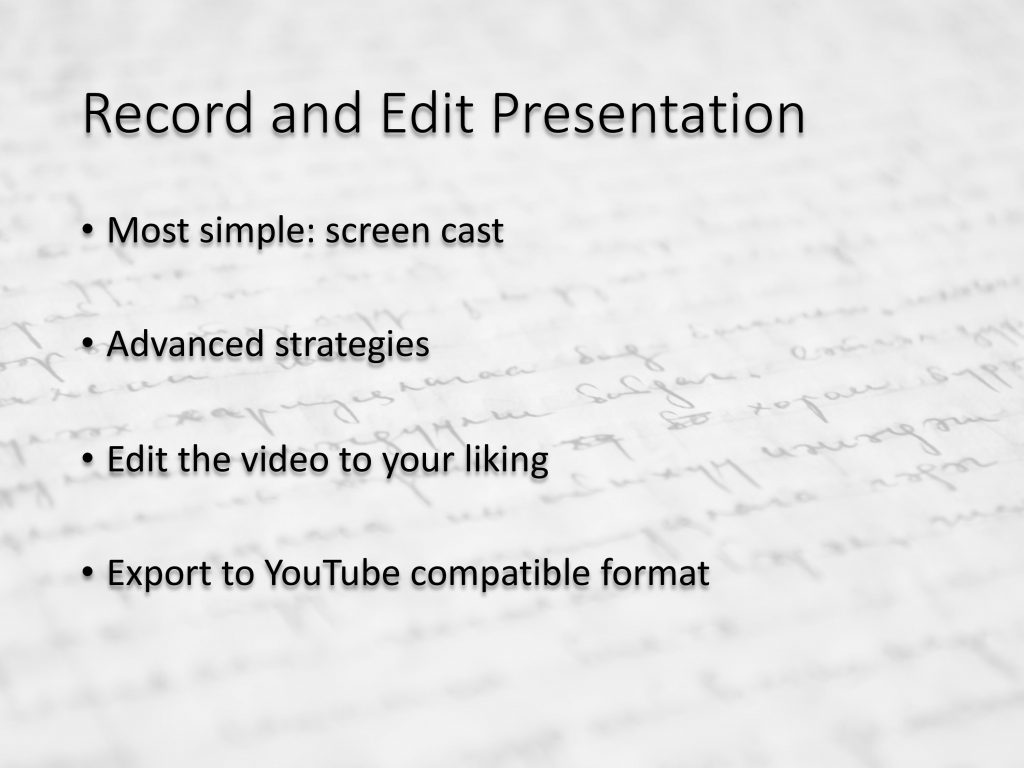
Well, what next? You record and edit the presentation video. Most of you have done this already plenty of times. You can use simply screencasts by doing a recording of the screen with your voiceover. There are also advanced strategies like the one I’m using here. I’m using OBS such that I can present the slides and record myself while presenting them. Then, after you did the recording, you edit the video to your liking. You can remove all the “um’s”, “ahs”, and all the things when you didn’t say exactly what you wanted to say. Finally, you want to export the video to a format such that it can be uploaded to YouTube. I recommend the mp4 format. My favorite tool for video editing right now is iMovie because it came with my mac, but there’s also plenty of other things that you can use in order to create your videos. So, once you did all of that, you can upload your video to YouTube in order to use automatic speech recognition.
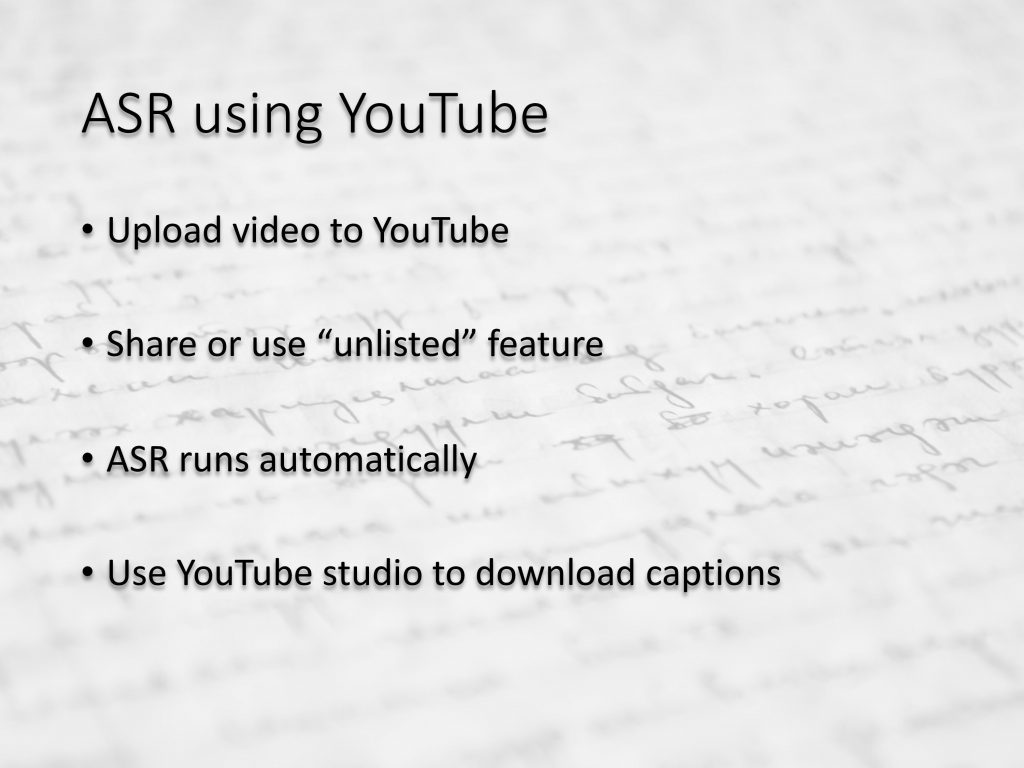
Youtube has a wonderful automatic speech recognition that is used in the automatic captioning system. Now, if you actually don’t want to share your presentation with the rest of the world, you can share it under the “unlisted” option. This means that only you will have access to this video and you only upload it in order to run the automatic speech recognition. After you finish the upload and set your video to “unlisted”, youtube will use the automatic speed recognition and this essentially means that like half an hour after upload or maybe an hour later you have access to the automatic captioning system. This is essentially the output of an automatic speech recognition system on your video.
So, once you have these captions, you can download them. Go into your YouTube Studio, select the video of your liking, go to “edit” and then “more options”. There, you find the result of the automatic captioning system and you can simply download them. We will use them in further processing. Now, once you have recorded the video and downloaded the result of the automatic captioning, you can actually use the autoblock toolchain.
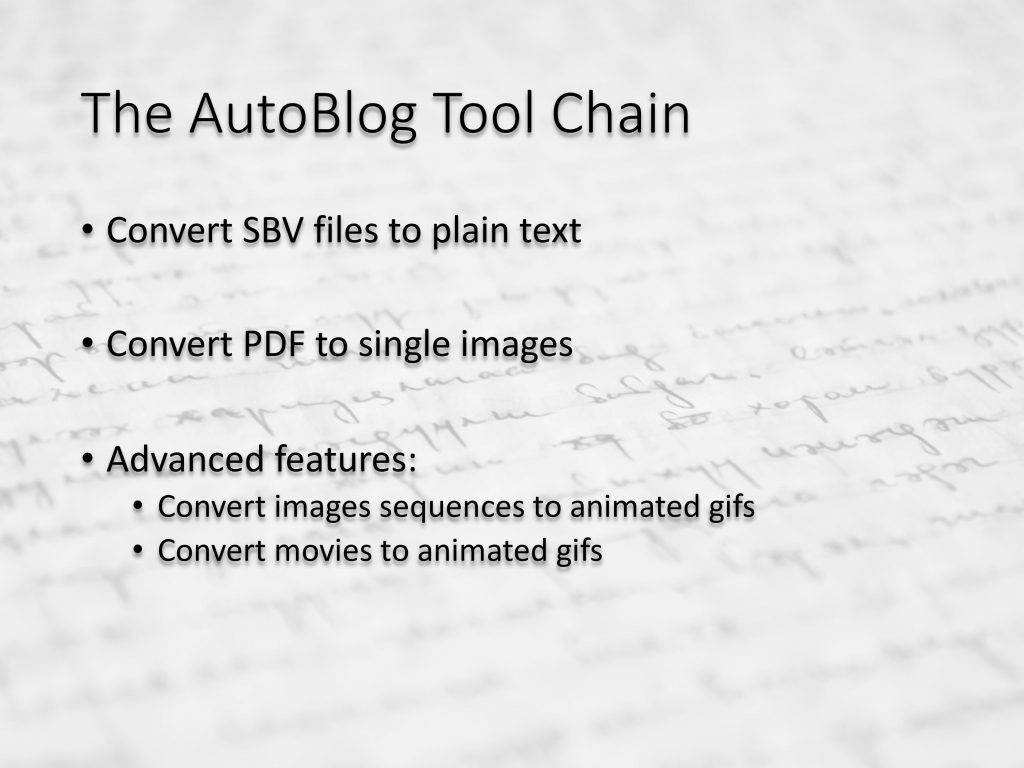
AutoBlog has a couple of features that are quite useful. First of all, the captions come in the so-called SBV format which is essentially containing the recognized text and the timestamps.
We have this small website here, where you can drag and drop your SBV file onto our small tool and it will generate the corresponding text from that file.
Next, you also want to use your slides in your blog post. This is why we have this very small tool to convert pdf slides into single images. Also, this works via drag and drop. You simply take your pdf document and drop it on the respective field on our website. This will then upload the pdf file to our server. We will then convert it into jpeg files and you can then download the zip file with all the jpegs. Please don’t take too much time for this. We will delete all of the generated files after approximately six hours. So, please make sure that you download the files early enough. Also, there are certain restrictions to the conversion. There’s a file size limit of 200 megabytes right now. It may take slightly longer than I show in the video because I time-lapsed the video in order to exactly match what I’m telling you here right.
Then, we have a couple of advanced features. They’re essential to add some spice to your blog posts. We have two additional features. One is in order to create animated gifs. So let’s say you had animations in your slides. You select the respective files from the generated jpegs, you drag and drop them again on our website, and it will very quickly generate an animated gif from that. You can simply drag and drop it back to the folder where you kept your files and then use it later in your blog post.
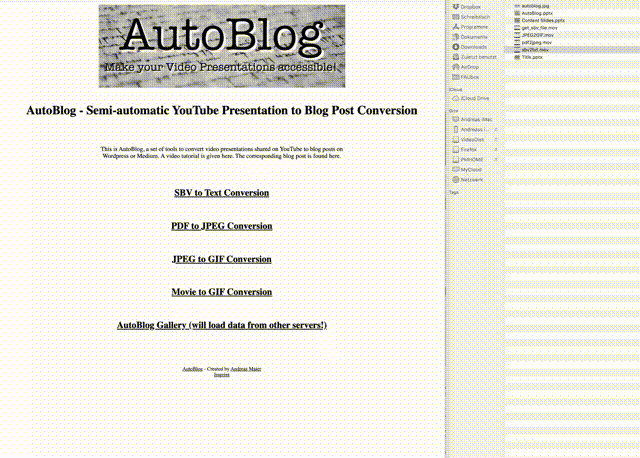
Also, we offer the opportunity to convert small movies into animated gifs. So this very similar to giphy and gifify and other tools that are out there. So, here you select your movie file drag and drop it on our website. It will take some time. Again, I time-lapsed in order to show you that this can actually be done. The file size limit is 200 megabytes and also be quick with the download because the file will be deleted after six hours. Then, you can also drag and drop it back for later use in your blog post. So once, you did all those steps for preparation, then you’re ready to go to generate your blog post.
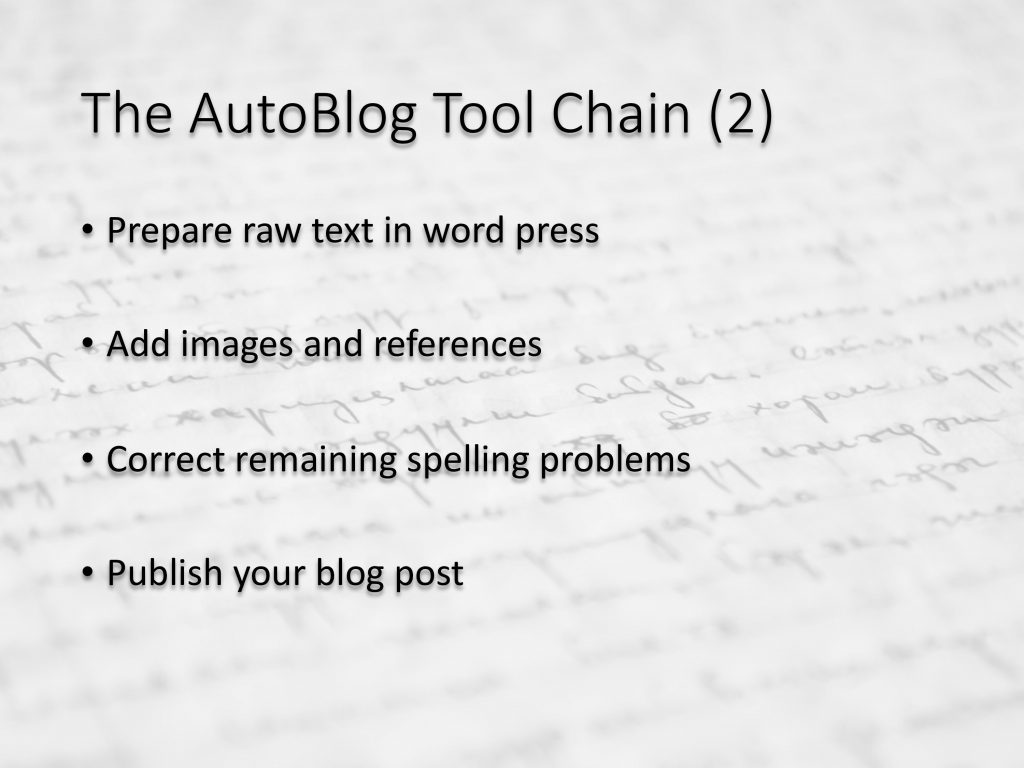
I typically do that in WordPress. You then prepare your website. You plug in the text. Then, you add the images, also the animations that you just generated, and plug them in the correct position. Finally, you go through the entire document and correct all the remaining typos that are in there. The captioning system doesn’t provide any full stops or sentence boundaries. So, therefore, it’s still a little bit of effort. I personally recommend doing this with a spelling correction system. I’m using the free version of Grammarly. Here in this video, you can see that it also adds quite a bit of support in order to correct the ASR output. So, once you did that you’re essentially done and you can publish your blog post.

So, you see it was actually quite easy. I personally take about 45 minutes for a 15-minute video in order to create this. So again, you’ve seen this was a time-lapse. You can very easily put it on your website and share it with the rest of the world. I think in particular with WordPress and also Medium, the interface is very nice because it supports drag and drop functionality which makes editing very easy.
So, I hope I could convince you that this is a useful tool. You can make your video presentations more accessible, also for persons that rely on text. They can very simply then also access your research contents and they get essentially the same information as you would provide in the video. It’s easy and quick to do. It’s not so much effort and the cool thing is if you use it then you can increase visibility and outreach. Note that I’m providing this on servers of our university. So the entire service right now is completely free of charge. I have no plans to actually charge anything for the service at any point in time. What I want to do is help you guys increase the visibility of your research!
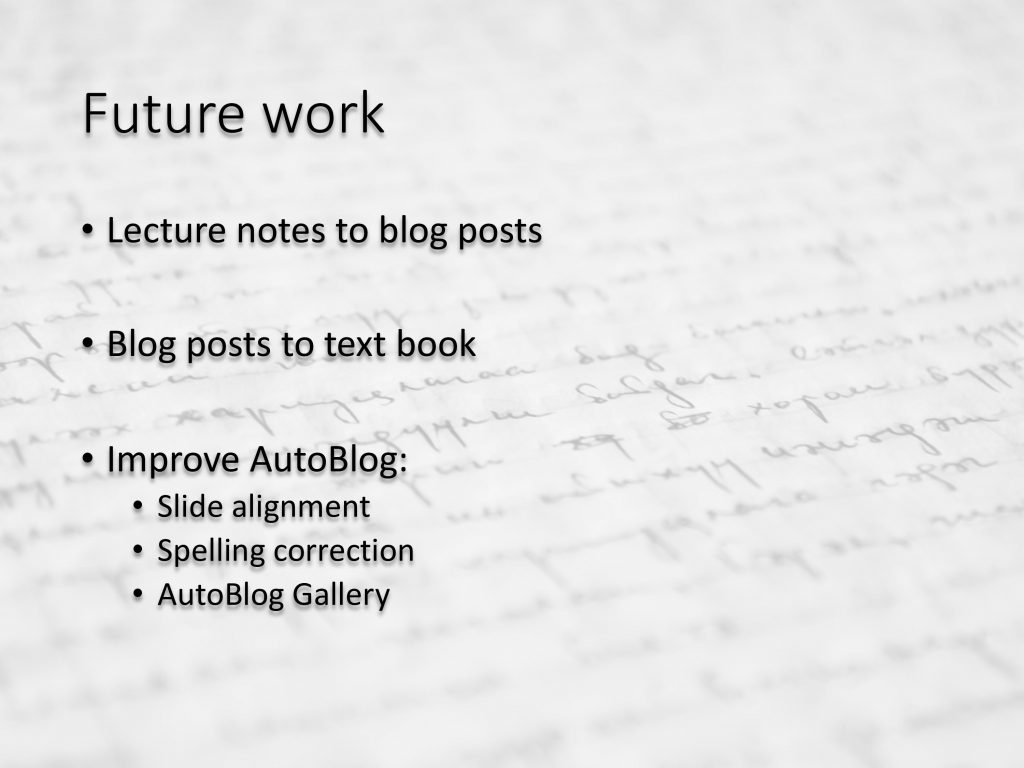
Of course, there’s quite a bit of future work that still needs to be done. I’m currently working with this toolchain to generate blog posts from all my lecture videos. So, I’m essentially generating lecture notes from the lecture videos. I already did approximately half of them and I’ll soon be done with the entire lecture. So that way, we will have a complete set of lecture notes consisting of blog posts. The next thing that we intend to do maybe around September, we actually want to convert the blog posts into a textbook of our deep learning lecture. If you follow this workflow, I think we can generate textbooks much quicker than we used to. So, I think this is a very appealing and useful service for other researchers.
Of course, we need to improve AutoBlog in the future. One thing that can be done actually quite easily is automatic slide alignment. So, we can take the video plus the generated text and the timestamps and then try to detect the slides that we also have access to the inside of the video. Once, we detect them, we can also align them automatically such that they get generated automatically into the right position of the blog post. So this is one extension that we want to tackle at some point in the future. Another thing is that we want to work on spelling correction. So, you see that the problem with the YouTube ASR output is that you are missing all the full stops and so on. This costs quite a bit of time actually. If we had enough training data, we would be able to do that automatically. So we are also thinking about creating a service to actually do that which brings me to the last point of future work. I set up something that is called AutoBlog Gallery. In this gallery, we will also list your blog posts and videos if you’re interested. Of course, you’re free to use AutoBlog for this. We list you there if you link the corresponding video and the corresponding slides in the corresponding blog post. So, we will have a look at your blog post check whether the information is there and if it is there, we will also put you into the gallery. Your benefit is that your blog post gets more visible and our benefit is that we can collect some more training data in order to build above mentioned two services. Well, I hope you liked this small video and you find this AutoBlog functionality useful. So I think, this can help you to make your research more accessible and more visible. I’m very much looking forward to seeing interesting blog posts on cool research projects in our AutoBlog Gallery. So, thank you very much for listening and goodbye!
If you liked this post, you can find more essays here, more educational material on Machine Learning here, or have a look at our Deep LearningLecture. I would also appreciate a follow on YouTube, Twitter, Facebook, or LinkedIn in case you want to be informed about more essays, videos, and research in the future. This article is released under the Creative Commons 4.0 Attribution License and can be reprinted and modified if referenced. If you are interested in generating transcripts from video lectures try AutoBlog.